

Reading Blocks and Finds on the Bitmern Solo Dashboard
If you need to read Blocks / Finds on the Bitmern Solo dashboard after a find (or when checking history), use an ordered reading checklist: open the matching…
You opened Bitmern Solo looking for where finds and blocks show up — after a ping, after a rumor of a find, or just to read history. That is a dashboard literacy job: which surface to open, what a find row is telling you, and what it is not telling you. It is not the same as verifying a payout on a public explorer, waiting on payout clocks, or studying Current Effort as if it were a countdown.
If you need to read Blocks / Finds on the Bitmern Solo dashboard after a find (or when checking history), use an ordered reading checklist: open the matching coin tab, locate the blocks/finds history surface, match the row to your account and coin, note any identifiers the UI shows without inventing labels, then decide whether to verify on an explorer, wait on timing, or simply keep hashing. Flat 1% fee on finds — you keep 99%. Current Effort is not a find guarantee. This post does not invent confirmation counts, luck odds, or product UI labels beyond reasonable dashboard language.
This is the dashboard blocks/finds reading path. Chain-level payout proof: verify payout on explorer. Clocks and when to wait: payout timing. Find lifecycle narrative: what happens when you find a block. Effort meter meaning: current effort explained. Fee reminder: fees 1%.
Bitmern Solo is solo infrastructure: flat 1% fee on finds only, you keep 99%. Reading the finds surface is how you orient after a find signal — not how you invent a schedule.
Blocks/finds UI ≠ explorer verify ≠ payout timing ≠ effort meter
Four patterns get mixed up:
- Reading blocks / finds on the dashboard — history and find rows inside Bitmern Solo for your account / coin. That is this post.
- Verify on an explorer — public-chain proof that coins hit the registered wallet. Use verify payout on explorer.
- Payout timing — how long to wait, what “pending” can mean. Use payout timing.
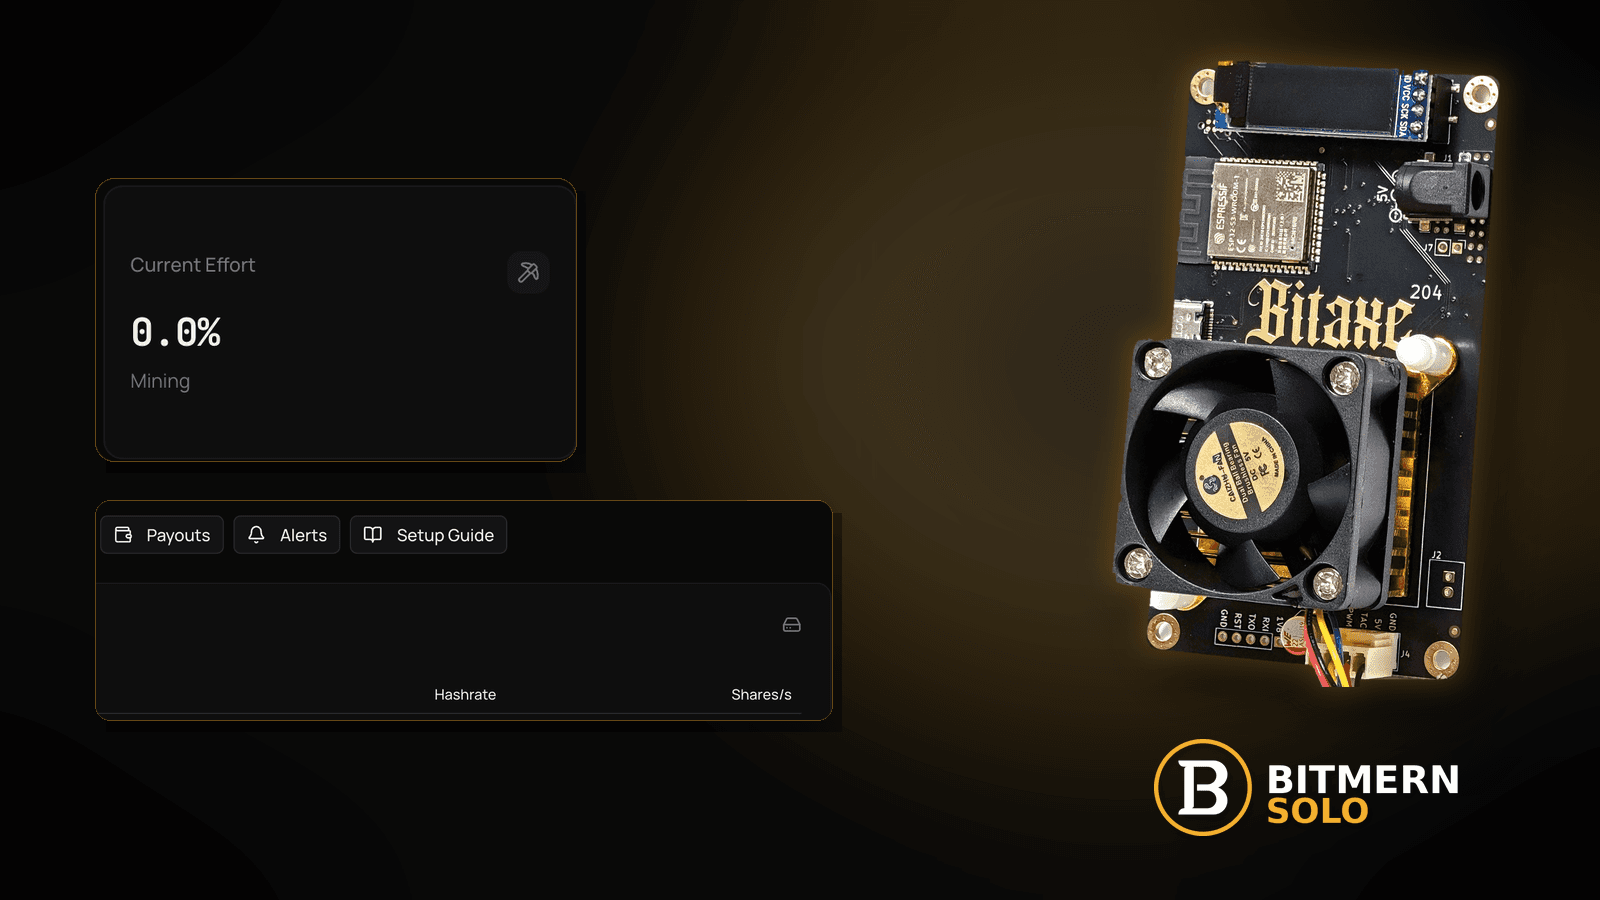
- Current Effort — ops meter for attribution / work progress language — not a find guarantee. Use current effort explained.
Do not invent confirmation-count SLAs, luck tables, or “the Finds tab always shows field X.” Use what the product UI actually shows; for chain proof, leave the dashboard and use an explorer when you have identifiers.
What “reading finds” usually means on a Bitmern Solo desk
Common moments:
- You think a find happened — alert, chat ping, or sudden curiosity; you want the in-product history row.
- You are auditing history — past finds for the coin, not a live incident.
- You have a txid / height style identifier in UI — next step may be explorer verify (verify payout).
- Nothing new on the finds surface — either no find yet, or you are on the wrong coin tab.
- Effort looks “high” and you expect a find row — Effort ≠ find guarantee (current effort explained).
- Payout not visible on-chain yet — timing patience vs support (payout timing), not a dashboard literacy failure.
Separate these from the lifecycle story of a find (what happens when you find a block).
Ordered reading checklist
Run top to bottom. Stop when you know whether a find row exists for your coin, what identifiers you can copy, and which follow-up post (explorer / timing / effort) applies.
1. Open the matching coin tab first
Symptom: You scan “the dashboard” while the board (or the find rumor) was about a different coin.
Fix: Open the same coin you care about. BTC finds will not appear as LTC history rows. Coin-tab literacy also helps worker attribution elsewhere on the dashboard.
2. Locate the blocks / finds history surface
Symptom: You stare at workers / shares / effort and conclude “no finds UI exists.”
Fix: Move to the product area that lists blocks or finds history for the account (wording can be blocks, finds, or similar history language — do not invent a mandatory label). You are looking for historical find rows for your account on this coin — not a global pool luck feed, and not a competitor comparison table.
3. Match the row to your account and coin
Symptom: You misread another surface (workers, effort, marketing) as a find confirmation.
Fix: A real find history row should clearly relate to your logged-in account and the coin tab you opened. If nothing is there, you may simply have no find yet — that is normal in solo mining variance, not a broken dashboard.
4. Read what the row actually shows (without inventing fields)
Symptom: You hunt for confirmation counts, luck %, or EV that the UI never promised.
Fix: Note the fields that are actually present — timestamps, identifiers, status-style language, amounts if shown — and stop there. Do not invent product columns. Fee context if an amount appears: flat 1% on finds; you keep 99% (fees 1%).
5. Copy identifiers when you need chain proof
Symptom: You want independent proof on a public explorer.
Fix: If the UI exposes a txid, block height, or similar identifier, copy it carefully and continue with verify payout on explorer. If no identifier is shown yet, do not invent one — check payout timing for wait vs support judgment.
6. Separate “find row exists” from “coins already on wallet”
Symptom: Dashboard shows a find signal; exchange / self-custody balance not updated yet.
Fix: Dashboard history ≠ instant on-chain visibility in every wallet UI. Use explorer verify when you have data; use timing when you are still waiting. Lifecycle context: what happens when you find a block.
7. Do not treat Current Effort as a finds list
Symptom: Effort meter is elevated; you expect a finds row “any minute.”
Fix: Effort is not a countdown and not a guarantee. Read current effort explained. Keep hashing with correct stratum (WALLET.worker / x, BTC easy-start :3132 when on BTC) — Effort moving is attribution health, not a find appointment.
8. Workers / shares stay on their own surface
Symptom: You confuse empty finds history with “board offline.”
Fix: Worker online + accepts are the dashboard workers / shares / effort job. Empty finds history with healthy accepts usually means no find yet — not a connect failure.
9. Soft next actions after you can read the UI
Pick one:
- Explorer verify if you have identifiers → verify payout
- Wait / support judgment if payout not visible yet → payout timing
- Lifecycle / what a find means → what happens when you find a block
- Effort confusion → current effort explained
10. Keep hashing with clean config while you read history
A finds UI does not replace correct stratum hygiene. For BTC easy-start:
stratum+tcp://btc.bitmernsolo.com:3132
WALLET.worker
password: x
Never treat :3102 as the Bitaxe / home default. Wrong wallet prefix problems belong in the invalid-wallet / rejected-shares lanes — not in “how do I read finds.”
When explorer, timing, lifecycle, or effort is the real story
Need public-chain proof: verify payout on explorer. Need clocks: payout timing. Need the find narrative: what happens when you find a block. Need Effort literacy: current effort explained. Fee reminder: fees 1%.
What this post will not invent
- No fabricated confirmation counts, luck odds, or EV tables
- No mandatory UI field names beyond reasonable “blocks / finds history” language
- No “finds appear within N minutes of Effort crossing X” claim
- No competitor fee comparisons
- No promise that a dashboard row equals immediate spendable balance in every wallet app
Fee fact: flat 1% / keep 99% on finds. Current Effort ≠ find guarantee.
Practical walkthrough after an alert or rumor
When something pings you — email, chat, or a sudden balance curiosity — keep the walkthrough boring on purpose:
- Log into Bitmern Solo and open the coin tab that matches the rumor or your hashing coin.
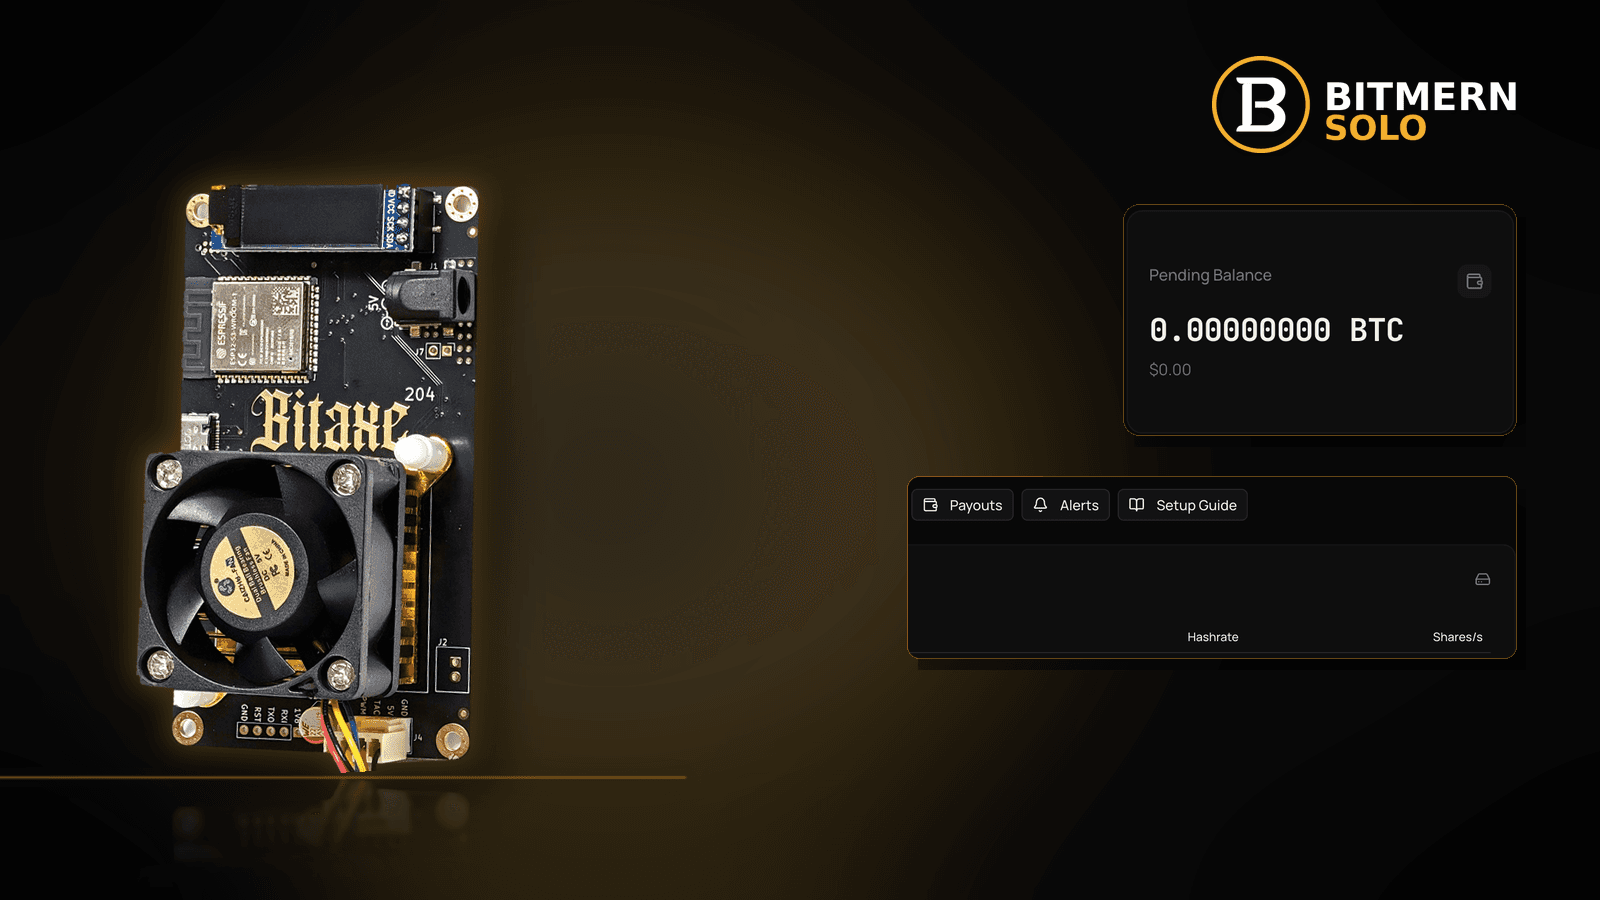
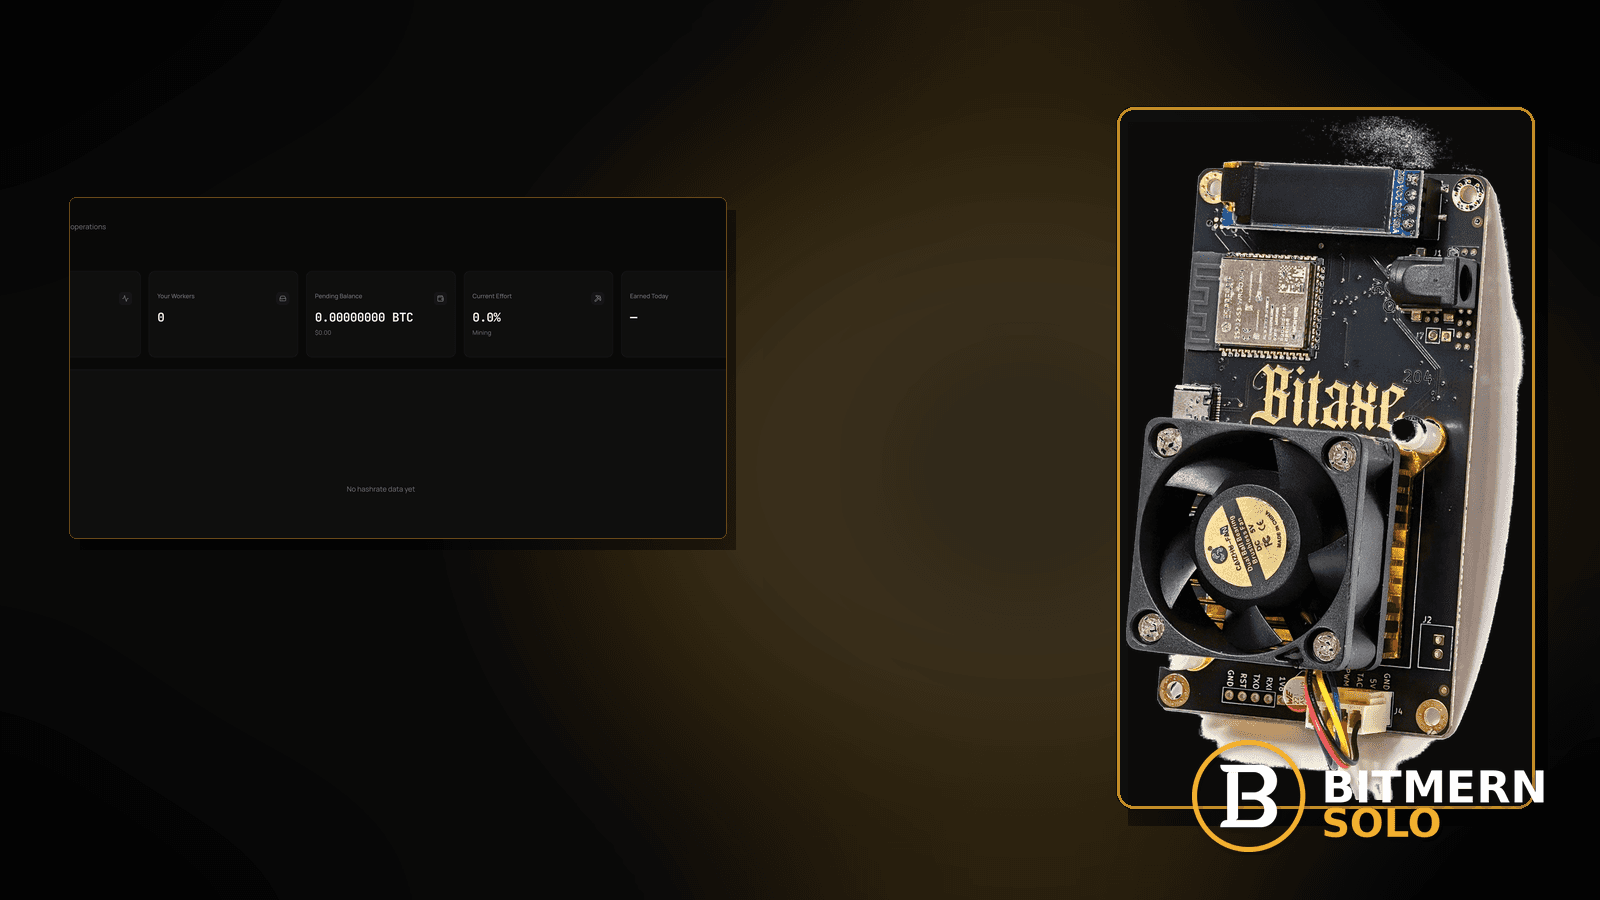
- Confirm workers are still accepting (so you know the account/coin surface is healthy) via the workers area — details stay in the dashboard guide.
- Open blocks / finds history and look for a new row tied to your account.
- If a row exists, copy any txid / height / status-style fields the UI actually shows.
- If you need chain proof, leave the dashboard and use verify payout on explorer.
- If a row exists but coins are not visible yet in your wallet app, use payout timing before escalating.
- If no row exists, do not invent one from a high Effort reading — return to hashing with clean stratum and re-check later.
That sequence keeps dashboard literacy separate from explorer proof and from Effort superstition.
Soft next step
Open the matching coin tab, find the blocks/finds history surface, read only the fields that exist, copy identifiers when you need explorer proof, and keep Effort / timing / lifecycle in their own posts — then keep hashing with a clean stratum string.
Start mining
Start Mining — after login, open the matching coin tab and confirm workers / shares / hashrate — and check finds history when you need it.
FAQ
Where do solo finds show on Bitmern Solo?
On the blocks / finds history surface for your account under the matching coin tab. Exact label language can vary; look for history of finds/blocks for that coin — not the Effort meter alone.
Is a finds row the same as explorer verification?
No. Dashboard history is in-product. Independent chain proof is verify payout on explorer.
Does high Current Effort mean a find row is due?
No. Current Effort ≠ find guarantee. See current effort explained.
What if the finds list is empty?
Often: no find yet for that coin on your account, or you are on the wrong coin tab. Healthy workers/accepts with empty finds history is normal solo variance — not automatically a connect bug.
How do fees show up conceptually?
Flat 1% on finds; you keep 99%. Details: fees 1%. Do not invent amount columns the UI does not show.
When should I wait vs open support?
Use payout timing once you understand whether a find row / identifier exists. This post only teaches you to read the dashboard surface.
What BTC stratum should I keep while watching history?
Easy-start: btc.bitmernsolo.com:3132, username WALLET.worker, password x. Never treat :3102 as the home Bitaxe default.